PURECONNECT CLEANER KIT INSTRUCTIONS
Maintaining equipment is easy with PureConnect studio cleaner kits. Keep jacks, plugs, studio cables, stage cables, guitar effect pedals and connector pins all working without static or intermittent loss of signal.
CLEANING 1/4” EQUIPMENT JACKS
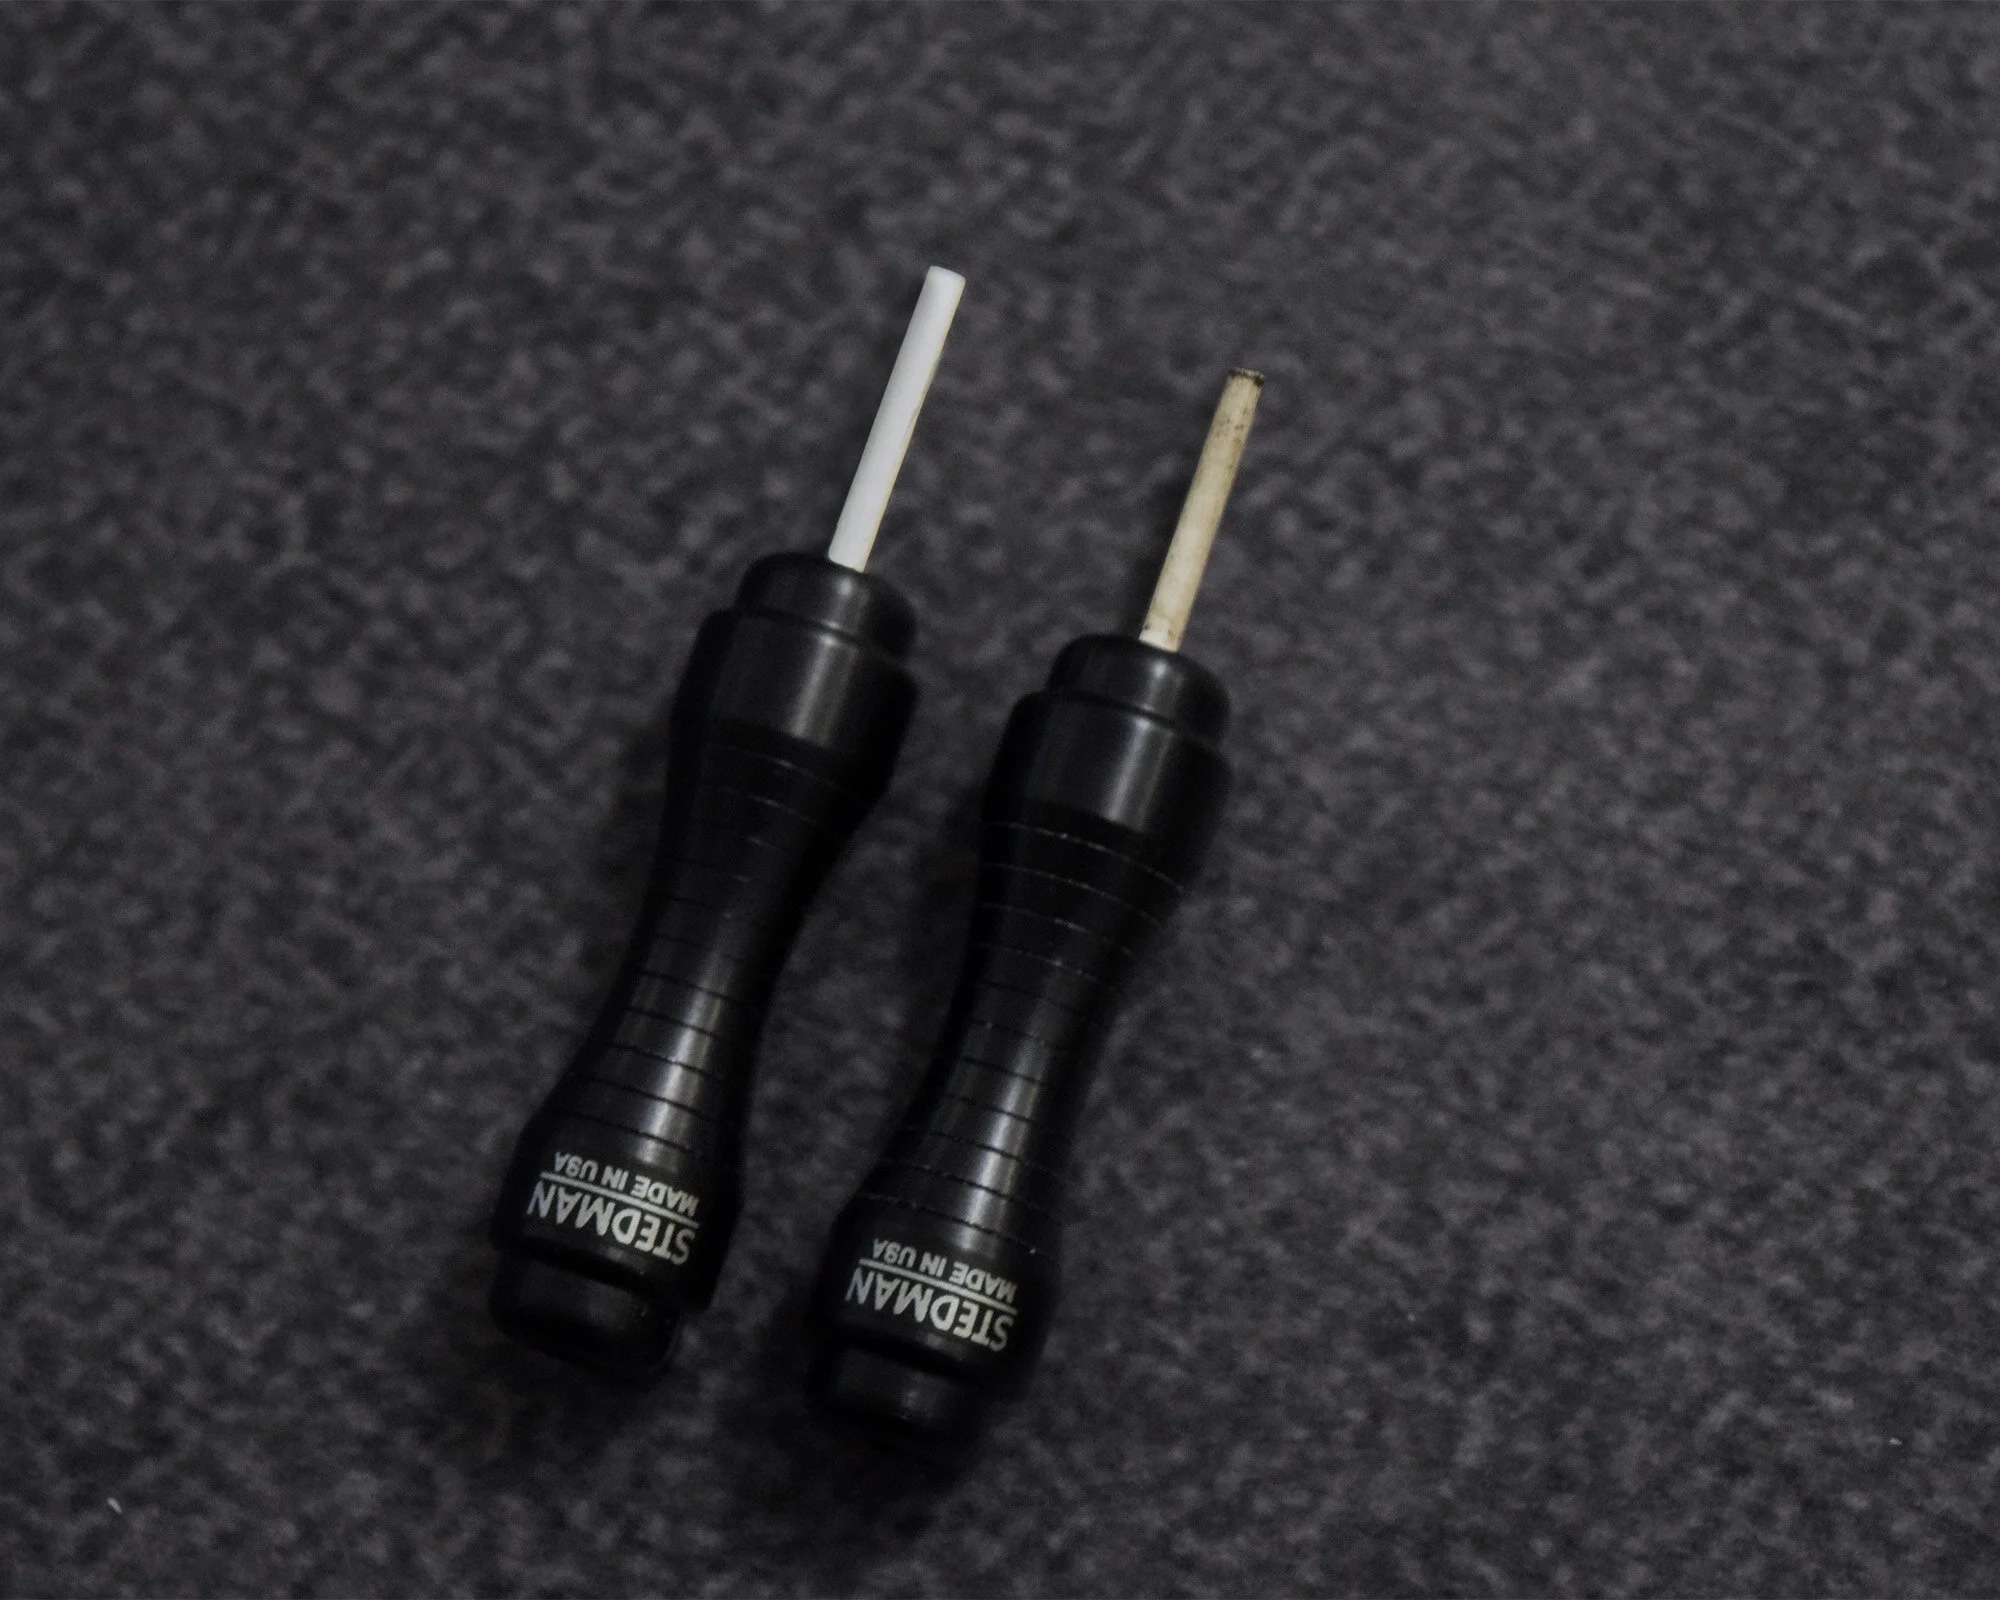
Install a 1/4" Microfelt tip into the 1/4" threaded hole in handle by pressing in firmly and turning clockwise until snug approximately 2 turns.
Cut off small tip end of DeoxIT tube and apply 1 drop to the tapered end and add 1 drop to the center area approximately 1" from tip end as shown.
Holding the handle, insert felt tip into 1/4" jack and turn clockwise 2 twists or one full rotation and remove from jack.
Pull out from connector and inspect tip. It is important to replace Microfelt tips when gray residue can be seen in order to keep from transferring contamination to the next connector to be cleaned.
Microfelt refill kits are available in 3 different sizes.

CLEANING 1/4" JACKS
Apply a few drops of cleaner fluid as shown.


CLEANING 1/4” PLUGS
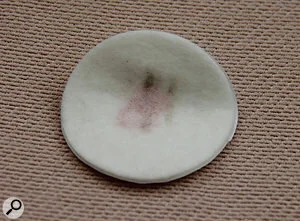
To clean 1/4" plugs, apply 1 drop of DeoxIT between the edge and the center of a pad.
Rotate plug in pad while firmly squeezing. See Pics.
Replace pad when dirty.
Be sure to purchase a refill kit to make certain you are ready for the next gig.

CLEANING 1/4” PLUGS
Apply a few drops of cleaner fluid as shown.

Cleaning XLR Female ConnectorS
To clean XLR female connectors install a 1/10" Microfelt tip into the smaller 1/10" threaded hole in the handle by pressing in firmly and turning clockwise until snug, approximately 2 turns.
Cut off small tip end of DeoxIT tube and apply 2 drops near the end as shown.
Holding the handle, insert installed tip into female XLR terminal and turn clockwise 2 twists or one full rotation and remove from XLR connector.
Inspect tip and replace if gray residue can be seen. Repeat on all 3 terminals of female XLR connector.

CLEANING FEMALE XLR TERMINALS
Apply a few drops of cleaner fluid near the end of the 1/10" felt tip as shown.


Cleaning XLR MALE PINS
To clean XLR male pins, install 1/4" Microfelt tip with tapered end into handle 1/4" hole.
Apply 1 drop of DeoxIT into 1/10" hole at flat end.
Holding the handle press Microfelt hole end onto one XLR pin and rotate 2 twists and remove from connector.
It is important to replace Microfelt tip when contamination is observed in order to keep from transferring contamination to the next connector to be cleaned.
Microfelt refill kits are available in 3 different sizes.

CLEANING XLR MALE PINS
Insert tapered end into handle and apply cleaner to hole on flat end.


BEFORE + AFTER
Before and after images of audio signals using PureConnect cleaner tools to clean dirty connectors.

300 Hz sine wave signal: BEFORE (top) + AFTER CLEANING (bottom)

1 kHz sine wave signal: BEFORE (top) + AFTER CLEANING (bottom)
Before and after images of PureConnect 1/4” microfelt tip cleaners used to clean a guitar jack.

Before and after images of PureConnect 1/10” microfelt tip cleaners used to clean a female XLR terminal.